Overview
When you change the number of members in your space, you might need to adjust the number of seats in your subscription. Such an update either allows new members to be added to your space or reduces your costs by decreasing the seats you are paying for
Prerequisites
Solution
To access the Billing menu and change the number of seats, follow the steps below:
- Log in to your Sococo Application.
- Click on the menu
button at the top-left corner of the app.
- On the left-side menu, click on Settings.
- Under the Administration section, select Billing.
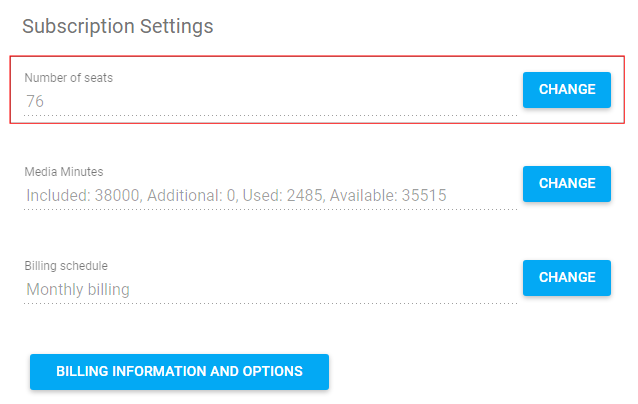
NOTE: If you do not have the Billing option available, in spite of being the Organization admin, you may be on a plan that does not provide this option. Please reach out to success@sococo.com directly with your request. - To change the number of seats, next to the Number of seats, click Change.
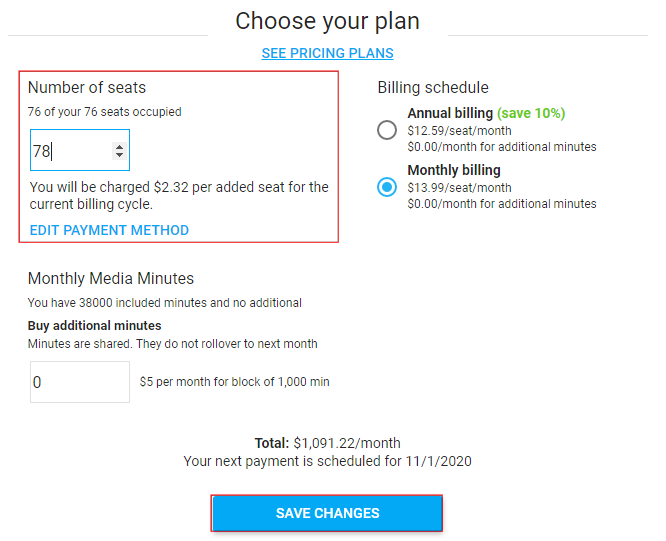
- Under the Number of seats, update the value, and click Save Changes.
Please note that the new number cannot be lower than the current number of occupied seats. To reduce the number, first, you need to remove members first. - Changes are applied as soon as you click Save Changes.

Testing
In the Billing menu (step 5) you can see the new number of seats. If the number of seats is not updated after the change, review the steps to resolve the issue in this article. If you are still facing the issue, follow up on a support ticket explaining the problem in detail, and provide all steps you tried so far.
Priyanka Bhotika
Comments